We have been planning for a long time to write a blog article on knife thinning, maintenance and repair. We can call it many things. The gist is that if the edge of the knife is too thick, so to speak, the blade needs to be thinned. Here is how we do it.
Why is it necessary to thin the blade? There are several reasons, one of the most important being functionality and the other aesthetics. Let’s face it, we like to work with a sharp knife, but it’s also important to have a good looking, aesthetically pleasing sharpened knife, especially if you are also serving. Furthermore, a thinned blade is much easier to re-sharpen, and if it is already so thick, it is difficult to sharpen. We write about this in the article: the difference between sharpening and sharpening
The first question that comes to mind, I think, is: when is an edgeband too thick? It’s a very good question, but we don’t have a precise answer to it (if anyone does, please let us know!) We could dream up a ratio of blade thickness to function, but that would require some serious measuring and reporting. Going back to the original topic, we usually thin the blade when the blade of the knife is already significantly worn out, and even the new edge is several times the size of the factory edge. It can also be called a ripping edge, in which case, for example, when cutting a cucumber, the blade will not cut but rip. The way we decide this is that when we sharpen the blade (we talk about edge band sharpening from the jaws) we can see how worn the knife is and obviously we have an idea of what the original edge band might have been like. It’s hard to describe, but anyone who has sharpened a few knives knows what we’re talking about. And for those who haven’t, we hope you’ll understand from the pictures.
Worn knife with thick edge band
The picture below shows a Wüsthof kitchen knife. It has been sharpened a couple of times, and the last time it was sharpened, we indicated to the owner that it needed to be thinned next time. We will go through the step by step process of thinning this knife.
It is visible that the knife is worn, the edge is 1,5-2,5 mm in places.
Detailed description of the methodology:
Step 1 Apply an edge strip from the gripper to the blade with normal P120 tape, as if sharpening. You can run the line up both sides to know that you’ve reached the other side properly. Of course, the rule here is that the edge band must be nice and parallel and the same size on both sides (this is also the first step in edge band sharpening). This completes our “donkey guide” for thinning the blade. Essentially, we need to remove the material where the blade mirror meets the edge band, which is what we had to do by first putting the edge band on the blade. This way we can see how much material is removed in step 2.
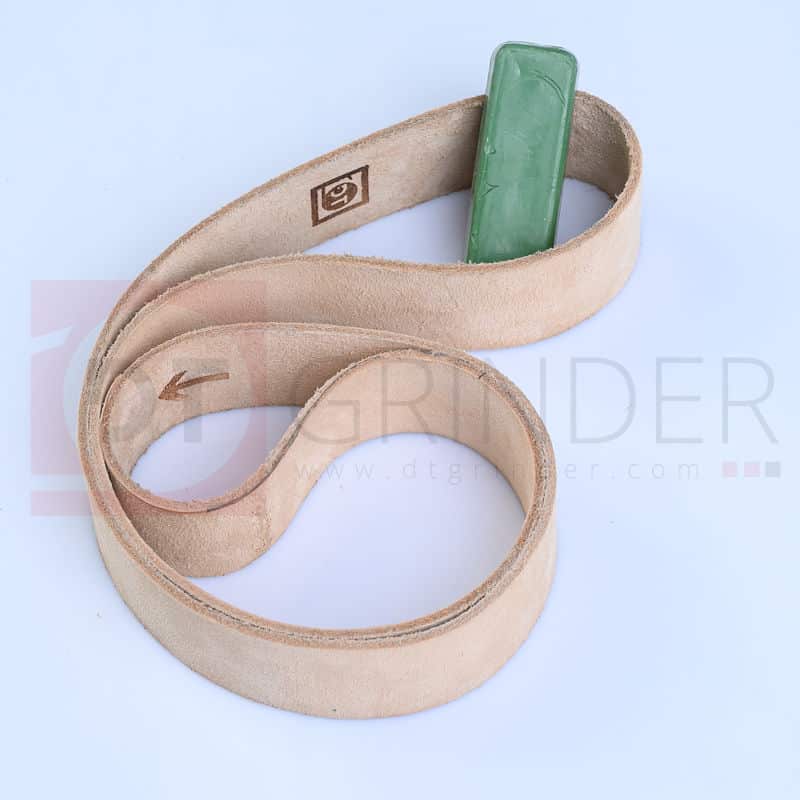
We usually put a thin layer of soft felt under the belt to avoid the abrasive belt suddenly hitting the blade on a hard surface. This product can be purchased by clicking here.This gives you enough softness to allow the tape to lick the material being sanded and not suddenly snap into it, but you can apply pressure, which is also an important part of the material removal. It should be noted here that the swinging belt is out of the question for this very reason, because there is no support behind the belt and there is not enough pressure to effectively remove the material. We are not saying that the swing belt is no good, but it is a much more efficient way of thinning – in our opinion. Tips: When laying the blade on the belt, make sure that the edge of the blade mirror is touching the belt so that the front of the edge belt is not touched by the abrasive belt. Care should also be taken not to grind into the blade back, because if you lose any of it, you may even change the flexibility of the blade, and that is not the aim here.
The blade should be cooled with water, dipped in a pan where the entire ground blade is exposed to the water. (This will be discussed in more detail in a future article, but it is important not to fear the urban legends of “burning the carbon out of the steel” and so on, as the process can be carried out without any noticeable deterioration. (Note: your hands would not stand the heat where this could exist.) Grind and thin the blade until the desired edge thickness is obtained on both sides, without removing any material from the blade back.
In the end, it is worth drawing the entire blade mirror to achieve a homogeneous surface, which will be important in the next steps. In this step, it is not important to thin the blade mirror until the line has turned from one side to the other. So do not draw the edge to zero, only if justified by the desired edge thickness.
On this chef’s knife, we took it down to zero, because functionally it’s important to have a thin edge band and it came with one. This would not be justified for a boning knife, for example, because the edge could be too thin and the edge could easily be damaged, plus it has a 0.5-1 mm fuse. This would just remove too much material unnecessarily, thus reducing the life of the knife.
The finished thinned blade
Step 3
The thinned blade surface can now be quite rough after a P60 tape. We can refine this further with P120 or P120 and then get a fleece tape threading. Here it can be applied in several steps, Medium – Fine – Very Fine. In the pictures, the surface has been fibre-finished with Very Fine straight after P120.
Step 4 The familiar sharpening.
Here you can either start with P240 straight away or P400 (as you’ve already formed the edge band in the first step), then once the line is nicely turned over on both sides, skin it off and you’re done!
Step 5 If the knife has a hand guard, it is a good idea to sand it down so that it does not keep the edge strip from the cutting surface. It is advisable to wear cut-proof gloves and to work with great care, because a sharpened blade can cause unpleasant cuts. Only remove the hand guard if it still performs its function due to the reduction in size. If there is no hand guard and only the blade is holding your hand out, it is advisable to dull the edge of the blade slightly (max 1-2 mm) so that the end of the blade cannot damage your hand if it slips off.
The knife was sharpened below 100, which is not a bad value, as you can see in this diagram.
This blog article describes the process we use, there are many good solutions for knife verification, we would like to fix this at the beginning. Some people have learned a different technique, or have learned and mastered a different technique. For us, this is the application that has worked best so far, both in terms of productivity and quality! We are also looking forward to your experiences and techniques on thinning, let’s learn from each other!
To provide the best experiences, we use technologies like cookies to store and/or access device information. Consenting to these technologies will allow us to process data such as browsing behavior or unique IDs on this site. Not consenting or withdrawing consent, may adversely affect certain features and functions.
Functional
Always active
The technical storage or access is strictly necessary for the legitimate purpose of enabling the use of a specific service explicitly requested by the subscriber or user, or for the sole purpose of carrying out the transmission of a communication over an electronic communications network.
Preferences
The technical storage or access is necessary for the legitimate purpose of storing preferences that are not requested by the subscriber or user.
Statistics
The technical storage or access that is used exclusively for statistical purposes.The technical storage or access that is used exclusively for anonymous statistical purposes. Without a subpoena, voluntary compliance on the part of your Internet Service Provider, or additional records from a third party, information stored or retrieved for this purpose alone cannot usually be used to identify you.
Marketing
The technical storage or access is required to create user profiles to send advertising, or to track the user on a website or across several websites for similar marketing purposes.


![Gázteleszkóp 200-60 [mm] 200N - DTG-BG1200 és DTG-BG2000 Szalagcsiszológépekhez](https://dtgrinder.com/wp-content/uploads/2025/03/gazrugo_200N.jpg)